How to fit LED Replacement Bulbs, FAQS & Beam Images
Share
LED Replacement Bulbs are the easiest upgrade to your existing lights, making the biggest impact. On top of that, they are relatively easy to fit, and fit most vehicles. Following are some FAQS, an Illustrated Guide on How to fit H4 LED Replacement Bulbs and Images of H4 Replacement Bulbs on DIM and BRIGHT.
How to Fit H4 LED Replacement bulbs
Before you start:
- Read through the Frequently Asked Questions
- We recommend that you take your vehicle to a certified Auto Electrician to fit your LED Replacement Bulbs. We accept no liability for damage that can be caused to your LED bulbs, vehicle or any other.
Now to fit them:

2a. Remove the power connector from your Halogen Bulb.

2b. Pull firmly backwards. The connector is normally a little bit tight, but do not use excessive force.

3. Remove the rubber dust cap.

4. Release the spring clip holding the bulb in place. Careful not to drop the bulb as the clip is released.

5. Remove the halogen bulb.

6. Fit the LED Bulb’s base plate into position. While holding it in position, fit the spring clip to hold it in place. It is easiest to put your finger into the hole in the middle of the base plate, while fitting the spring. Careful not to drop it into your headlight’s casing (resulting in hours of hassle)

7. Slide the LED Globe through the Rubber Dust Cap.

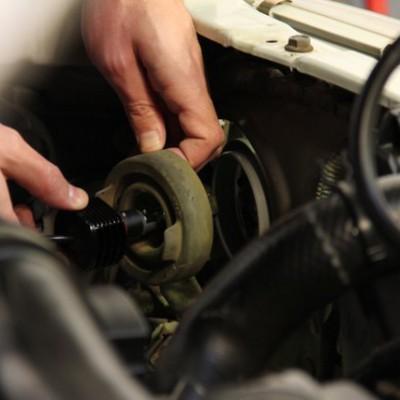
8. Now for the trickiest part: With the rubber dust cap over the bulb, insert the LED bulb into it’s base plate. You have to align the bulb to the holes in the base plate. After inserting all the way, a slight turn to the one side will lock it into place. It is quite a tight fit to insert it all the way, with the rubber dust cap over it. Be firm, without forcing it. It helps to look from the front to ensure that they are aligned and locked in place. When done, the little cup (over the DIM LEDs), should be facing upwards. Seat the rubber dust cap.

9b. The complete H4 LED Replacement Bulb and harness. First is the Bulb, Second the CANBUS compatible ballast, Third the Negative harness. All are simply plugged into each other, and into your vehicle’s H4 Light Connector. Now connect the Negative harness to the CANBUS compatible ballast.

9c. Connect the negative of the Negative harness wire to any metal part of the vehicle’s body. (Note: Some model vehicles’ H4 connectors are wired differently, and will not require the Negative Switch harness. Connect your vehicle’s H4 Connector to your Negative harness. Tidy up all wiring. You can use double sided tape/cable ties. Ensure no wires are in the way of your fan belt, etc.
The post How to fit LED Replacement Bulbs, FAQS & Beam Images appeared first on Extreme Lights.


